2019-05-07 17:06:08 +00:00
PlantUML Server
2013-10-17 15:02:48 +00:00
===============
2013-12-11 18:17:50 +00:00
[](https://travis-ci.org/plantuml/plantuml-server)
2019-05-07 17:06:08 +00:00
[](https://microbadger.com/images/plantuml/plantuml-server "Get your own image badge on microbadger.com")
2017-04-28 08:31:48 +00:00
[](https://hub.docker.com/r/plantuml/plantuml-server/)
2013-10-17 15:02:48 +00:00
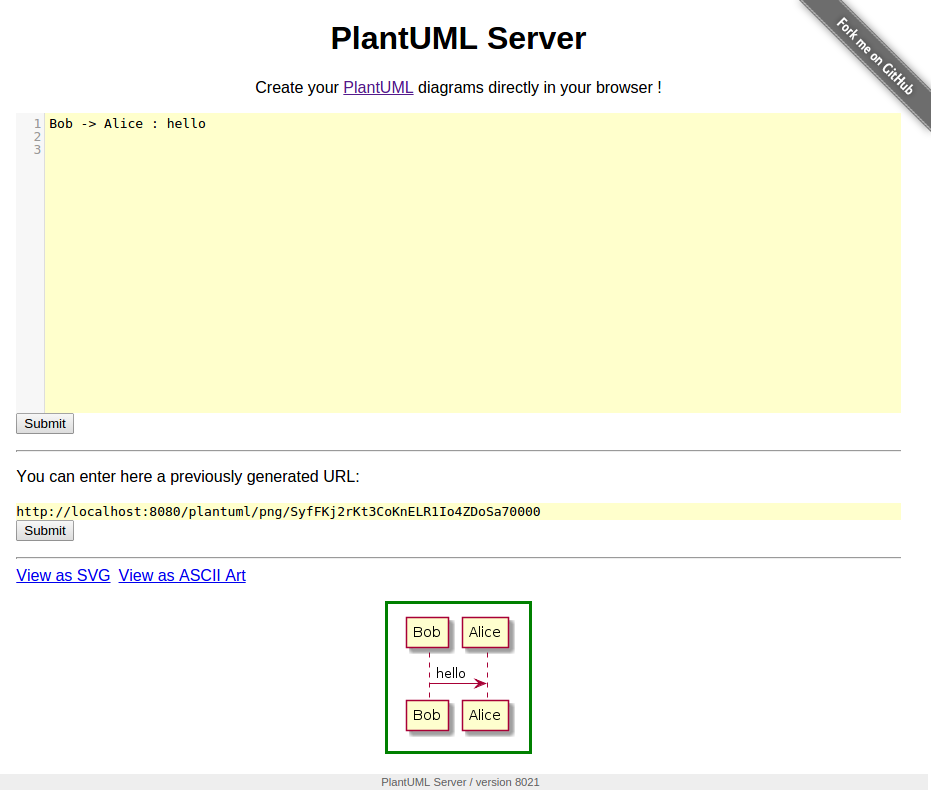
PlantUML Server is a web application to generate UML diagrams on-the-fly.
2015-03-29 18:12:21 +00:00
2019-05-07 17:06:08 +00:00
2017-04-27 07:16:21 +00:00
To know more about PlantUML, please visit http://plantuml.com/.
2011-11-02 22:23:39 +00:00
2019-11-11 11:01:38 +00:00
2015-03-29 18:12:21 +00:00
Requirements
============
2011-11-02 22:23:39 +00:00
2015-03-29 18:12:21 +00:00
* jre/jdk 1.6.0 or above
2011-11-02 22:23:39 +00:00
* apache maven 3.0.2 or above
2015-03-29 18:12:21 +00:00
How to run the server
=====================
Just run:
```
mvn jetty:run
```
The server is now listing to [http://localhost:8080/plantuml ](http://localhost:8080/plantuml ).
2019-05-07 17:06:08 +00:00
In this way the server is run on an embedded jetty server.
2015-03-29 18:12:21 +00:00
You can specify the port at which it runs:
```
2017-04-27 07:16:21 +00:00
mvn jetty:run -Djetty.port=9999
2015-03-29 18:12:21 +00:00
```
2017-01-26 07:32:35 +00:00
How to run the server with Docker
=================================
2017-04-28 08:53:11 +00:00
You can run Plantuml with jetty or tomcat container
2017-01-26 07:32:35 +00:00
```
2017-04-28 08:53:11 +00:00
docker run -d -p 8080:8080 plantuml/plantuml-server:jetty
docker run -d -p 8080:8080 plantuml/plantuml-server:tomcat
2017-01-26 07:32:35 +00:00
```
2017-04-25 12:55:02 +00:00
The server is now listing to [http://localhost:8080 ](http://localhost:8080 ).
2017-01-26 07:32:35 +00:00
2021-05-12 21:26:32 +00:00
## Read-only container
The jetty container supports read-only files system, you can run the read-only mode with:
```
docker run -d -p 8080:8080 --read-only -v /tmp/jetty plantuml/plantuml-server:jetty-readonly
```
This makes the container compatible with more restricted environment such as OpenShift, just make sure you mount a volume (can be ephemeral) on `/tmp/jetty` .
## Change base URL
2019-05-07 17:06:08 +00:00
To run plantuml using different base url, change the `docker-compose.yml` file:
~~~
args:
BASE_URL: plantuml
~~~
And run `docker-compose up --build` . This will build a modified version of the image using
the base url `/plantuml` , e.g. http://localhost/plantuml
2017-09-26 07:40:42 +00:00
How to set PlantUML options
=================================
You can apply some option to your PlantUML server with environement variable.
If you run the directly the jar, you can pass the option with `-D` flag
```
java -D THE_ENV_VARIABLE=THE_ENV_VALUE -Djetty.contextpath=/ -jar target/dependency/jetty-runner.jar target/plantuml.war
```
or
```
mvn jetty:run -D THE_ENV_VARIABLE=THE_ENV_VALUE -Djetty.port=9999
```
If you use docker, you can use the `-e` flag:
```
docker run -d -p 8080:8080 -e THE_ENV_VARIABLE=THE_ENV_VALUE plantuml/plantuml-server:jetty
```
You can set all the following variables:
* `PLANTUML_LIMIT_SIZE`
* Limits image width and height
2019-12-10 21:57:49 +00:00
* Default value: `4096`
2017-09-26 13:38:51 +00:00
* `GRAPHVIZ_DOT`
* Link to 'dot' executable
2019-12-10 21:57:49 +00:00
* Default value: `/usr/local/bin/dot` or `/usr/bin/dot`
2017-09-26 13:38:51 +00:00
* `PLANTUML_STATS`
* Set it to `on` to enable [statistics report ](http://plantuml.com/statistics-report )
2019-12-10 21:57:49 +00:00
* Default value: `off`
2019-05-17 14:22:28 +00:00
* `HTTP_AUTHORIZATION`
* when calling the `proxy` endpoint, the value of `HTTP_AUTHORIZATION` will be used to set the HTTP Authorization header
2019-12-10 21:57:49 +00:00
* Default value: `null`
* `ALLOW_PLANTUML_INCLUDE`
* Enables `!include` processing which can read files from the server into diagrams. Files are read relative to the current working directory.
* Default value: `false`
2017-09-26 07:40:42 +00:00
2017-04-28 08:53:11 +00:00
Alternate: How to build your docker image
2017-04-21 20:53:01 +00:00
======================================================
2019-05-07 17:06:08 +00:00
This method uses maven to run the application. That requires internet connectivity.
So, you can use following command to create a self-contained docker image that will "just-work".
2017-04-21 20:53:01 +00:00
2017-04-24 16:16:12 +00:00
*Note: Generate the WAR (instructions further below) prior to running "docker build"*
2017-04-21 20:53:01 +00:00
```
2019-05-07 17:06:08 +00:00
docker image build -t plantuml-server .
2017-04-28 08:53:11 +00:00
docker run -d -p 8080:8080 plantuml-server
2017-04-21 20:53:01 +00:00
```
The server is now listing to [http://localhost:8080/plantuml ](http://localhost:8080/plantuml ).
2017-12-18 13:34:23 +00:00
You may specify the port in `-p` Docker command line argument.
2019-05-07 17:06:08 +00:00
2017-01-26 07:32:35 +00:00
2015-03-29 18:12:21 +00:00
How to generate the war
=======================
To build the war, just run:
2011-11-13 01:38:43 +00:00
2015-03-29 18:12:21 +00:00
```
mvn package
```
2011-11-13 01:38:43 +00:00
2015-03-29 18:12:21 +00:00
at the root directory of the project to produce plantuml.war in the target/ directory.