PlantUML Server


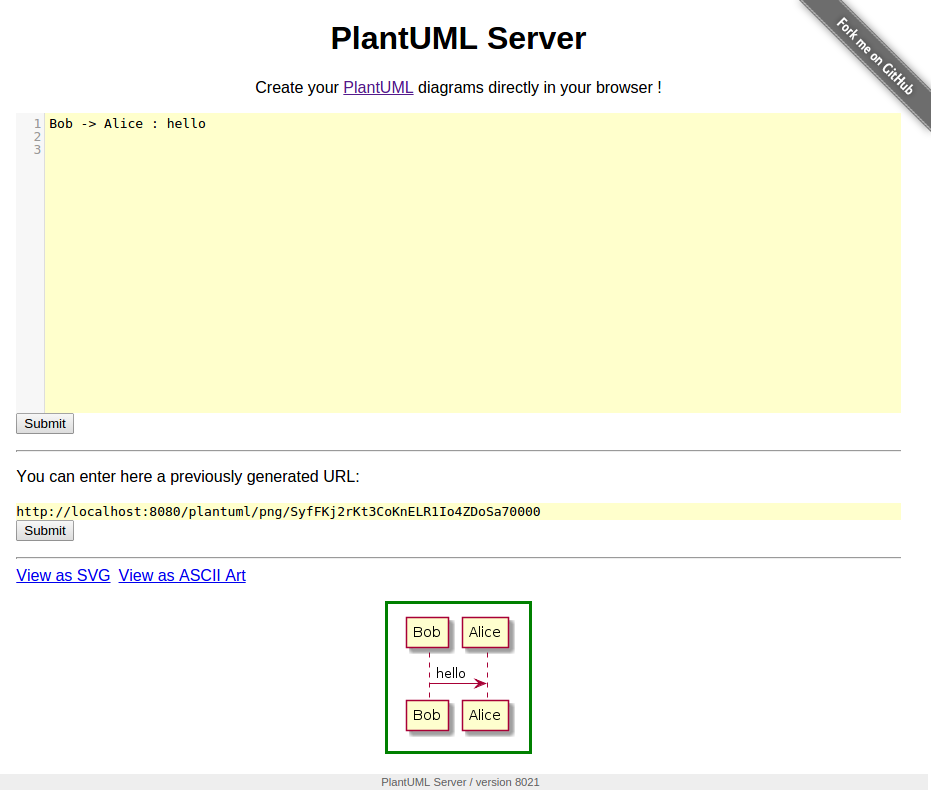
 PlantUML Server is a web application to generate UML diagrams on-the-fly.
To know more about PlantUML, please visit http://plantuml.com/.
Requirements
- jre/jdk 1.6.0 or above
- apache maven 3.0.2 or above
How to run the server
Just run:
mvn jetty:run
The server is now listing to http://localhost:8080/plantuml. In this way the server is run on an embedded jetty server.
You can specify the port at which it runs:
mvn jetty:run -Djetty.port=9999
How to run the server with Docker
You can run Plantuml with jetty or tomcat container
docker run -d -p 8080:8080 plantuml/plantuml-server:jetty
docker run -d -p 8080:8080 plantuml/plantuml-server:tomcat
The server is now listing to http://localhost:8080.
Read-only container
The jetty container supports read-only files system, you can run the read-only mode with:
docker run -d -p 8080:8080 --read-only -v /tmp/jetty plantuml/plantuml-server:jetty-readonly
This makes the container compatible with more restricted environment such as OpenShift, just make sure you mount a volume (can be ephemeral) on /tmp/jetty.
Change base URL
To run plantuml using different base url, change the docker-compose.yml file:
environment:
  - BASE_URL=plantuml
And run docker-compose up. This will start a modified version of the image using
the base url /plantuml, e.g. http://localhost/plantuml
How to set PlantUML options
You can apply some option to your PlantUML server with environement variable.
If you run the directly the jar, you can pass the option with -D flag
java -D THE_ENV_VARIABLE=THE_ENV_VALUE -Djetty.contextpath=/ -jar target/dependency/jetty-runner.jar target/plantuml.war
or
mvn jetty:run -D THE_ENV_VARIABLE=THE_ENV_VALUE -Djetty.port=9999
If you use docker, you can use the -e flag:
docker run -d -p 8080:8080 -e THE_ENV_VARIABLE=THE_ENV_VALUE plantuml/plantuml-server:jetty
You can set all the following variables:
BASE_URL- PlantUML base url
- Default value:
ROOT
PLANTUML_LIMIT_SIZE- Limits image width and height
- Default value:
4096
PLANTUML_STATS- Set it to
onto enable statistics report - Default value:
off
- Set it to
HTTP_AUTHORIZATION- when calling the
proxyendpoint, the value ofHTTP_AUTHORIZATIONwill be used to set the HTTP Authorization header - Default value:
null
- when calling the
ALLOW_PLANTUML_INCLUDE- Enables
!includeprocessing which can read files from the server into diagrams. Files are read relative to the current working directory. - Default value:
false
- Enables
Alternate: How to build your docker image
This method uses maven to run the application. That requires internet connectivity. So, you can use following command to create a self-contained docker image that will "just-work".
Note: Generate the WAR (instructions further below) prior to running "docker build"
docker image build -t plantuml-server .
docker run -d -p 8080:8080 plantuml-server
The server is now listing to http://localhost:8080/plantuml.
You may specify the port in -p Docker command line argument.
How to generate the war
To build the war, just run:
mvn package
at the root directory of the project to produce plantuml.war in the target/ directory.